A smart home upgrade workflow doesn’t start with buying new gadgets; it starts with a clear plan for how your home should work, feel, and respond to you day to day. In this guide, you’ll map out your current setup, identify the biggest wins for comfort, security, and energy savings, and then follow a step‑by‑step installation checklist so every device fits into a cohesive system instead of a pile of random tech.
Table of Contents
- Step 1: Assess Current Setup And Plan Upgrade
- Step 2: Select Compatible Smart Devices
- Step 3: Install Devices And Integrate With Network
- Step 4: Test System Functionality And Optimize Performance
Quick Summary – Smart Home Upgrade Workflow
| Key Takeaway | Explanation |
|---|---|
| 1. Assess Current Setup Before Upgrading | A thorough understanding of your existing devices prevents costly mistakes and ensures compatibility with new smart devices. |
| 2. Prioritize Devices Based on Goals | Determine whether your focus is on energy savings, convenience, or security to guide your purchasing decisions effectively. |
| 3. Choose Compatible Protocols for Devices | Ensure selected devices use compatible communication protocols like WiFi, Zigbee, or Z-Wave to create a cohesive smart home network. |
| 4. Install Devices Methodically and Securely | Follow a systematic installation process, including securing your network, to ensure all devices function properly together. |
| 5. Test and Optimize Device Performance | Regularly verify functionality, update firmware, and monitor battery life to maintain an efficient and reliable smart home system. |
Step 1: Assess Current Setup and Plan Upgrade
Before you buy anything or flip a single switch, take time to understand what you already have and where you want to go. This assessment step saves money, prevents buyer’s remorse, and ensures your new devices actually work with your existing systems.
Start by walking through your home and documenting everything connected or potentially smart-home compatible. Make a simple list of devices you currently own:
- Lighting fixtures (types, locations, current bulbs)
- HVAC system (age, brand, thermostat type)
- Security system (cameras, locks, sensors if present)
- Audio or entertainment systems
- Appliances that might benefit from smart upgrades
Next, assess your home’s current energy performance. A home energy audit identifies inefficiencies and helps prioritize which upgrades will deliver the biggest impact. This data-driven approach means you focus on devices that genuinely improve your comfort and reduce costs, not just trendy gadgets.
Consider your network infrastructure too.
Check your WiFi coverage throughout the home, including basement and garage areas. Note any dead zones where signals weaken. This matters because smart devices need reliable connectivity, and a weak network undermines everything else.

Now think about your upgrade priorities. Are you motivated by energy savings, convenience, security, or a combination? Your answer shapes which devices to buy first. Someone focused on energy efficiency prioritizes smart thermostats and lighting over entertainment speakers.
To assist with planning your smart home upgrade, here’s a summary of key considerations by priority: Smart Home Upgrade Workflow
| Upgrade Priority | Best Initial Device Choice | Typical Impact |
|---|---|---|
| Energy Savings | Smart thermostat, smart bulbs | Lower utility costs |
| Convenience | Smart speakers, switches | Easy control for routines |
| Security | Cameras, smart locks | Enhanced safety, monitoring |
| Entertainment | Smart TV, speakers | Improved media experience |
Reviewing this table can clarify which devices deliver the most value for your goals.
A whole-house systems approach ensures all energy use factors work together, not against each other.
Use planning tools to evaluate options for your specific region and home type. Resources like the ResStock dashboard help you assess current energy performance and explore retrofit options tailored to your situation.
Finally, set a realistic budget and timeline. Smart home upgrades don’t require spending thousands at once. You can start small with one room or device category, then expand gradually as you learn what works best for your household.
Pro tip: Take photos and measurements of key areas (closets with HVAC equipment, electrical panels, WiFi router location) before shopping—you’ll reference these constantly when comparing devices and planning installation locations.
Step 2: Select Compatible Smart Devices
Now that you know what you have and what you need, it’s time to choose devices that actually work together. Compatibility is everything. Buy the wrong devices and you’ll end up with a collection of disconnected gadgets instead of a unified system.
Start by identifying which standardized protocols your devices will use. The most common options are WiFi, Zigbee, and Z-Wave. WiFi devices connect directly to your home network, making them easy to set up but sometimes energy-intensive. Zigbee and Z-Wave devices use less power and create a mesh network where devices relay signals through each other, extending range throughout your home.
Matter is the newer standard gaining traction across manufacturers. Devices supporting Matter protocol work seamlessly with different ecosystems, avoiding vendor lock-in and giving you real freedom to mix and match brands without compatibility headaches.
Here’s a quick comparison of smart device communication protocols to help guide your selection: Smart Home Upgrade Workflow
| Protocol | Power Usage | Network Type | Compatibility |
|---|---|---|---|
| WiFi | Higher | Direct | Widely supported |
| Zigbee | Low | Mesh | Many devices, often needs hub |
| Z-Wave | Low | Mesh | Mostly home automation devices |
| Matter | Low | Mesh/Direct | Cross-brand, future-proof |
This overview highlights which protocol suits different needs and infrastructure.
When evaluating specific devices, look for these practical features:
- Remote control and scheduling capabilities
- Geofencing (automatic actions based on your location)
- Local API access (control without cloud dependency)
- ENERGY STAR certification for smart thermostats
- Privacy and local processing options
Open standards prevent you from being trapped in one brand’s ecosystem.
Check reviews and specifications carefully. ENERGY STAR certified smart thermostats have been tested for genuine energy savings and compatibility with most heating and cooling systems. This certification means you’re not betting on promises—the performance is verified.
Build a spreadsheet listing devices you’re considering, their protocols, and required hubs or bridges. This prevents impulse purchases that don’t fit your ecosystem. Start with one device category (like lighting or climate control) rather than buying everything at once.
Consider your home’s existing infrastructure too. Do you have a central hub already? Some systems require one; others don’t. Understanding your requirements before shopping saves frustration and money.
Pro tip: Check the device manufacturer’s compatibility page before purchasing—many brands publish specific lists of tested integrations, preventing surprises after you’ve already bought something.
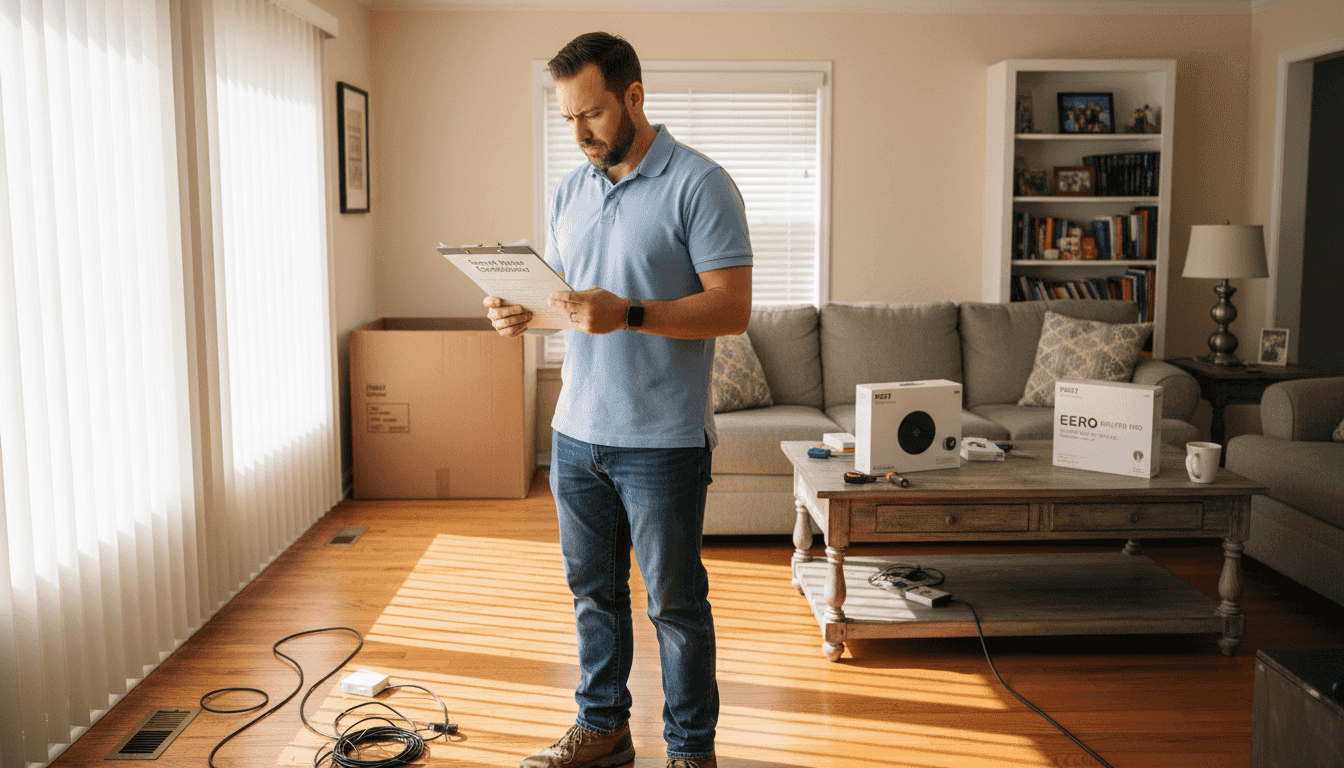
Step 3: Install Devices and Integrate with Network
Physical installation is straightforward, but network integration is where everything comes together. This step transforms individual devices into a coordinated system that actually talks to itself.

Start with your router and network foundation. Your home router acts as the command center, so position it centrally and elevated if possible. Poor placement means weak signals in distant rooms. If you identified dead zones during your assessment, add a WiFi extender or mesh system now to ensure coverage where you need it.
Begin installation with your hub device if your system requires one. Smart home hubs (or bridges) act as translators between your WiFi network and devices using Zigbee or Z-Wave. Connect the hub to power, then to your router via WiFi or Ethernet. Install the manufacturer’s app on your phone—you’ll need it to add devices.
Now add individual devices one at a time. Follow this basic sequence for each:
- Power on the device and locate its reset button or pairing mode
- Open your hub’s app and select “Add Device” or “Pair”
- Put the device into pairing mode (usually a quick button press)
- Wait for the app to recognize and connect to the device
- Give it a recognizable name and room assignment
- Test basic controls before moving to the next device
A proper Home Area Network setup ensures secure communication between all your devices using encryption and strong passwords. Change default credentials immediately and use a strong WiFi password.
Network security isn’t optional—it’s the foundation of a safe smart home.
Once devices are connected, test automation by creating a simple routine. For example, set a light to turn on when you arrive home or a thermostat to adjust at a specific time. These small tests confirm everything communicates properly before you build complex automations.
Group devices by room in your app for easier control. This organization prevents confusion and makes voice commands more intuitive.
Pro tip: Place devices within 30 feet of your router or hub initially, then test range before hiding them in walls or cabinets—some placements dramatically weaken signals, and repositioning is easier before installation is complete.
Step 4: Test System Functionality and Optimize Performance
You’ve installed your devices and connected them to your network. Now comes the critical step: verifying everything works as intended before you settle into daily use. Testing catches problems early when they’re easiest to fix.
Start by checking basic connectivity for each device. Open your app and confirm every device appears online and responds to commands. Toggle a light on and off, adjust a thermostat by a few degrees, lock and unlock a smart lock. These simple tests reveal connectivity problems immediately.
Next, test voice assistant integration if you’re using Alexa, Google Home, or Siri. Say basic commands like “turn on the kitchen light” or “set the thermostat to 72 degrees.” Voice commands often expose integration issues that app control might hide. Check response times—commands should execute within 2-3 seconds.
Evaluate automation and routine functionality by creating simple test sequences. Set a morning routine that turns on lights and adjusts temperature, then run it manually to verify all actions happen in the correct order. Test geofencing by leaving your home and confirming location-based triggers activate properly.
Examine smart home control algorithms that optimize HVAC and other systems for efficiency. Check your thermostat’s learning features and energy usage reports if available. Many devices improve performance over time as they learn your patterns.
After testing basic functionality, optimize performance with these actions:
- Update all device firmware to the latest versions
- Adjust WiFi channel settings if devices struggle to connect
- Fine-tune automation timing based on actual usage patterns
- Review and strengthen any default passwords
- Enable two-factor authentication on your hub account
Performance optimization is ongoing, not a one-time task.
Monitor battery life for wireless sensors and note replacement schedules. Some sensors last 6 months, others 2 years. Tracking this prevents unexpected device failures.
Document any issues you find and troubleshoot systematically. Most connectivity problems stem from network interference, weak WiFi signals, or outdated firmware.
Pro tip: Create a simple spreadsheet tracking each device’s location, connection type (WiFi/Zigbee/Z-Wave), battery status, and last update date—this reference saves hours when troubleshooting problems months later.
Take Control of Your Smart Home Upgrade Workflow Journey Today
Upgrading your home with smart technology can feel overwhelming with so many protocols and devices to consider. The key challenges include ensuring compatibility, securing your network, and optimizing performance to create a truly connected living space. If you want to avoid compatibility headaches and costly mistakes while achieving energy savings and convenience, you need a trusted guide that walks you through every step.
Discover expert insights, detailed device reviews, and comprehensive setup instructions in The Complete Smart Home Automation Master Guide Archives – Smart Home HQ.
Start your smart home upgrade with confidence by exploring tested product recommendations and tips at Smart Appliances Archives – Smart Home HQ. Don’t wait until installation becomes a maze. Visit Smart Home HQ now and unlock the full potential of your smart home through clear guidance and proven solutions.
Frequently Asked Questions – Smart Home Upgrade Workflow
What is the first step in the Smart Home Upgrade Workflow?
Before starting your smart home upgrade, assess your current setup. Document all devices you currently own and their compatibility to better plan your upgrades.
How do I choose compatible smart devices for my upgrade?
Select devices based on standardized protocols like WiFi, Zigbee, or Z-Wave. Ensure that the devices communicate effectively within your existing network to create a unified smart home system.
How can I test the functionality of my smart home devices?
Check the connectivity of each device using your smart home app. Perform simple tests like turning lights on and off or adjusting the thermostat to confirm that everything is working correctly.
What should I do if my smart home devices are not communicating?
First, check your network connection and placement of your router or hub. If devices are still having trouble, try resetting them and reconnecting through the app to resolve any pairing issues.
How can I ensure optimal performance of my smart home system?
Regularly update the firmware of your devices and optimize your WiFi settings. Monitor battery life of all wireless devices and track any connectivity issues to maintain a smooth system operation.
Can I upgrade my smart home in stages?
Yes, you can start with one room or device category and gradually expand. Begin with prioritized upgrades based on your goals, such as energy savings or security improvements.
Recommended
- 7-Step Smart Home Setup Checklist for Homeowners
- DIY Smart Home Integration Guide: Connect All Your Devices
- Chapter 6: 🚀 Implementation Roadmap – Smart Home HQ
- Smart Home Implementation Roadmap